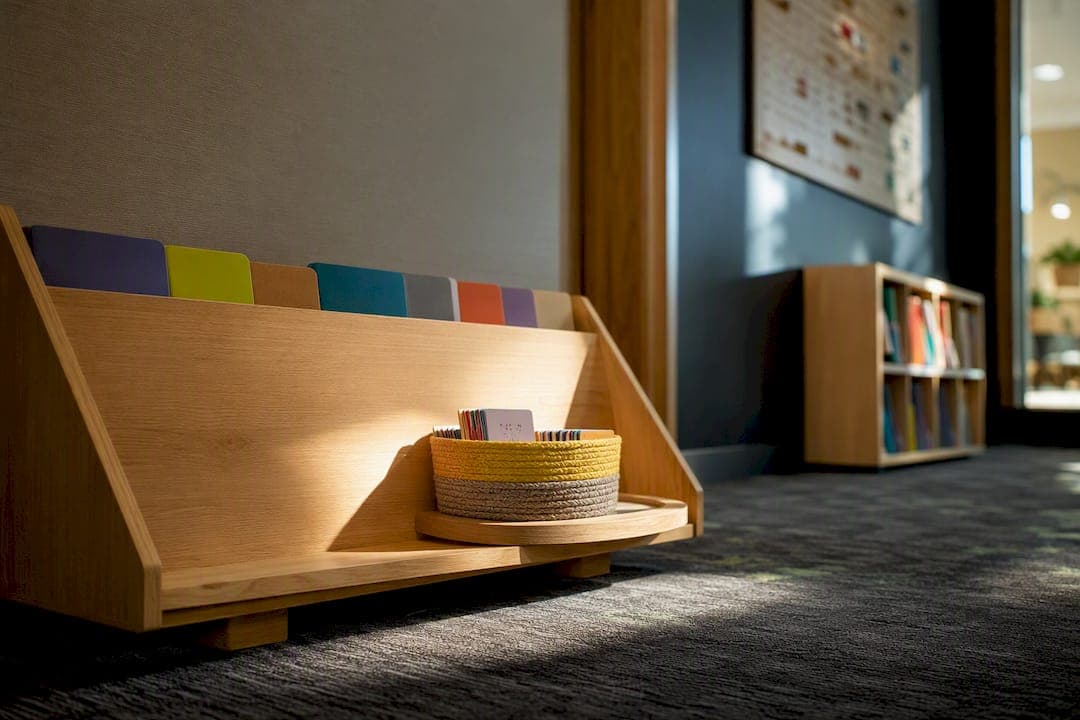
The easiest way to display children's themed card decks is an accessible, art-forward setup paired with single-deck containers and a simple rotation schedule. That means low pegboards or open shelving, one deck per bag or bin, and labels or colors kids can read before they can read. The rest comes down to placement, safety, and a few clean-up tricks that save you from finding cards under the couch for weeks.
TL;DR:
- Children aged 3 to 8 should have displays placed at their eye level to promote independent exploration and easy access.
- Keeping each deck in a dedicated, labeled container with numbered cards prevents loss and makes return or reordering straightforward.
- Rotating a single featured deck weekly enhances engagement without overwhelming children, with 3 to 4 decks available at the same time.
- Using consistent, colorful signage matching deck art helps nonreaders identify and locate their preferred cards without assistance.
- DIY display setups, such as laminated labels or repurposed storage items, are simple to build and improve durability and hygiene.
Table of Contents
- Card Deck Display Ideas for Shelves, Pegboards, and Beyond
- Placing Displays Where Kids Can Actually Reach Them
- Storage Systems That Stop Cards From Going Missing
- Designing a Display Kids Want to Explore
- DIY Card Displays You Can Build This Weekend
- Why Design Choices Change How Kids Actually Use a Deck
- Find a Themed Deck Worth Displaying
- Where to Read More on Display and Storage
- Sources
- FAQ
Card Deck Display Ideas for Shelves, Pegboards, and Beyond
Not every room needs the same setup, and matching the format to your traffic level matters more than picking the "best" one. A pegboard works well anywhere kids browse and return items on their own: mount it at child height, add labeled hooks, and hang a large sign that mirrors the deck's cover art so nonreaders can find their way. Educators recommend pegboards or open, accessible shelving with large signage mirroring the deck's artwork specifically because it invites use without requiring an adult to hand things over.
Low open shelving with a felt mat underneath each deck gives kids a visual "home base" for return, which cuts down on mixed-up piles. Tabletop or freestanding stands shine during storytime or a therapy session, where you want a deck visible but not permanently out. Hanging string displays with clothespins work like a rotating gallery wall, ideal for a themed week or a "deck of the month" feature.
- Pegboard with labeled hooks: best for classrooms and libraries with steady foot traffic
- Low open shelving with felt mats: best for toddler and preschool rooms needing independent access
- Tabletop or freestanding stands: best for storytime, group demos, or therapy sessions
- Hanging string and clothespins: best for rotating exhibits or seasonal themes
- Trays sorted by category: best for small spaces where shelving isn't an option
Wooden trays, plastic trays, and freestanding stands also make it easy to swap decks in and out without redoing the whole display.
Placing Displays Where Kids Can Actually Reach Them
Where you put a display changes how often it gets used, sometimes more than what's on it. Testing several spots, a shelf by the door, a table near the reading corner, a cart in the hallway, reveals where displays actually spark curiosity instead of getting ignored.
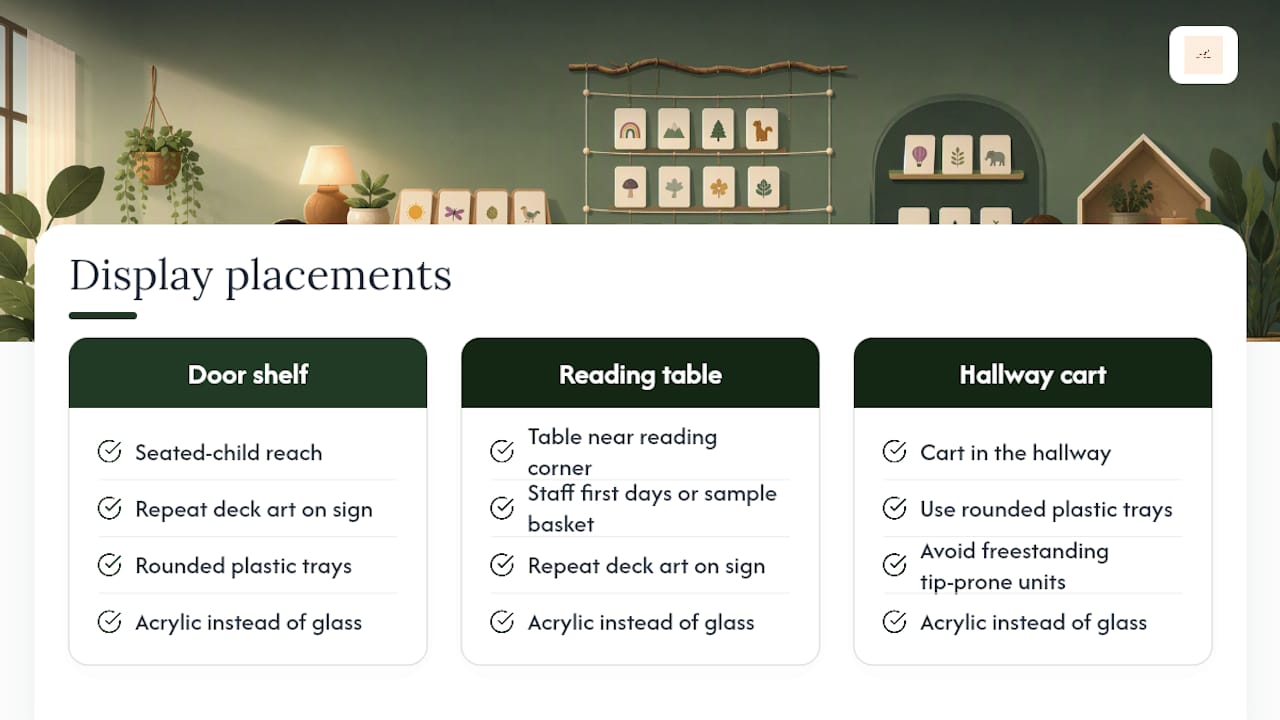
For ages 3 to 8, keep the top shelf at a height accessible to a seated child, low enough for easy reach without adult assistance. Signage should repeat the exact art from the deck cover, not a generic label, so a child who can't read yet still recognizes the set. Choose durable materials: rounded plastic trays instead of sharp-cornered wood, boards anchored to the wall rather than freestanding units that tip, and acrylic sheeting instead of glass anywhere small hands reach. In a public space like a library corner, staffing the display for the first few days, or setting out a sample basket, helps kids learn the routine faster than a sign alone.
Storage Systems That Stop Cards From Going Missing
Losing pieces is the single biggest complaint from anyone managing a card collection for kids, and the fix is almost always the container, not the child. Quart-size zip-top bags resist moisture and travel well, which makes them ideal for decks that leave the room. Binder rings work better for flip-through activity sets a child uses one-handed outdoors, since nothing falls loose if the ring stays closed.
A few habits make circulation nearly foolproof:
- Assign one container per deck. A small basket, soap dish, or shallow bin keeps sets from blending together and gives each collection its own visible spot.
- Number every card's corner. A consistent, small number lets even a first grader reorder a shuffled deck without an adult stepping in.
- Add a cover card. A card showing the deck's image and set number speeds up clean-up and helps kids self-sort during return.
- Attach instructions to the container lid. In shared spaces, this keeps the rules with the cards even after multiple hands have borrowed them.
- Designate a return spot. A single, consistent shelf or bin corner cuts down on "I don't know where this goes."
Pro Tip: Sealed containers with instructions taped to the inside of the lid survive circulation far better than a loose instruction sheet that gets left behind after the first use.
Designing a Display Kids Want to Explore
Good design does real work here, it's not just decoration. Color-coded shelves, painted boxes, or felt mats give nonreaders a way to navigate a collection without asking for help every time, and the same color system can signal progress, green for "mastered," yellow for "practicing," for example.
Pick one deck as a rotating focal point. Set it slightly forward, add a small sign or a prop that matches its theme, and swap it out weekly. This single move draws eyes to something new without overhauling the whole shelf. Group remaining decks by theme, character, or skill level rather than alphabetically. Kids read visual groupings, colors, characters, art style, long before they read labels.
- Rotate a featured deck weekly to keep the display feeling new
- Keep 3 to 4 concurrent activities out at once rather than the whole collection
- Use consistent color tags across shelves, bins, and cover cards
- Track rotation with a simple sticky note or clipboard chart
Limiting concurrent activities to three or four keeps a display from overwhelming a young child, and it makes rotation itself part of the fun instead of a chore. If you want layout inspiration beyond cards, a gallery wall arrangement built around a focal piece translates surprisingly well to card displays, too.
DIY Card Displays You Can Build This Weekend
You don't need a woodshop to make a display that looks intentional. A basic wooden tray project follows four steps: measure your deck stack, cut or modify a shallow box to fit, sand and finish the edges, then label the front with a laminated card. Felt pouches sewn shut on three sides work as a soft, quiet alternative for a therapy room. Envelope pockets glued to a poster board turn a flat wall into a working display in under an hour.
Thrift stores are worth a stop before a craft store. Antique card racks and cassette tape organizers convert into surprisingly sturdy card displays once you stabilize any wobbly joints and sand down rough edges. Ready-made artisan trays and fabric pouches also turn up on general handmade marketplaces if building isn't your thing.
- Laminate paper labels and cover cards so wipe-downs don't destroy them
- Round or sand any sharp corners before a display goes near ages 3 to 8
- Choose wipeable finishes (polyurethane, laminate) for classroom or therapy settings
- Test stability by gently pushing on any freestanding piece before kids use it
Pro Tip: A quick coat of polyurethane on a repurposed wood rack does double duty: it seals splinters and makes the whole piece easy to disinfect between uses.
Why Design Choices Change How Kids Actually Use a Deck
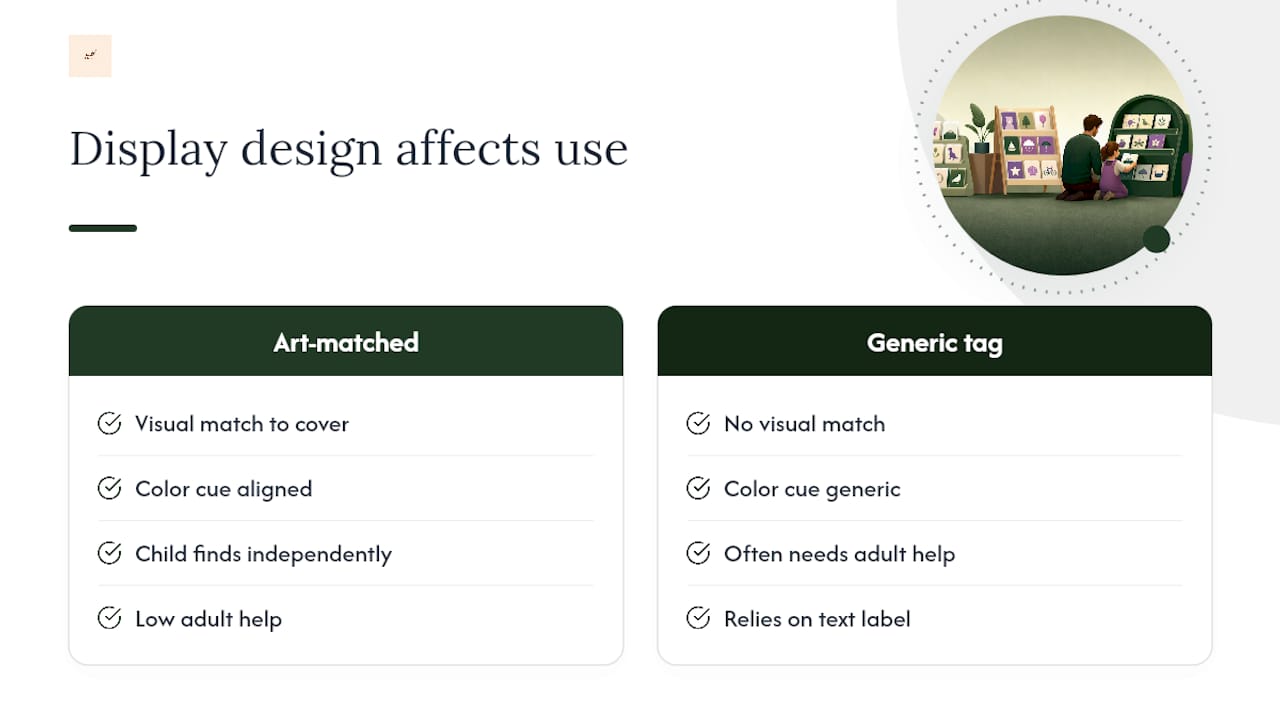
At Icon Literary, every themed card deck starts as a piece of art before it becomes an activity, and that shapes how we think about display. A deck's cover illustration isn't just packaging, it's the signage system a 4-year-old will use to find their favorite set on a shelf without asking an adult to read a label. That's why matching a display's signs and color tags to the deck's actual artwork, rather than a generic printed tag, makes such a visible difference in independent use.
If you're setting up a first display, our guide to Dream Cards for Kids walks through format options in more detail, and our post on curated SEL picture book displays shows how rotation and grouping play out in a real classroom.
— Derek Amarillas
Find a Themed Deck Worth Displaying
Once your shelf, pegboard, or tray is ready, you need decks worth putting on it. Icon Literary designs themed card decks and printable activity sets built around original characters and social-emotional learning themes for kids ages 3 to 8, with cover art detailed enough to double as your own display signage.
Because each deck comes with consistent, recognizable art, you can color-code, group, and rotate them using the same system this article walks through, no extra design work needed on your end. Browse the current collection at Icon Literary to find a deck that fits your classroom corner, therapy room, or gift list, then set it up with a dedicated container and a spot at kid height. That's really the whole system: one deck, one home, one clear place to return it.
Where to Read More on Display and Storage
The Flip Card Activities guidance from Lawrence Hall of Science covers placement testing and signage in more depth than any single article can. Educator Cathie Perolman's color-coded display walkthrough shows real classroom photos of the felt-mat system described above. Montessori Nature's storage roundup offers more DIY tray variations, and Everything Just So's task card guide goes deeper on bag and binder-ring organization for busy classrooms.
Sources
- Flip Card Activities background information — Lawrence Hall of Science
- How do I display it all? Color-coded sound games — Cathie Perolman
- Creative ways to store and display printable learning activities — Montessori Nature
- How to use task cards & keep organized — Everything Just So
FAQ
What's the best way to display card decks for young kids?
A low pegboard or open shelf placed at a seated child's eye level, paired with one container per deck and signage that matches the deck's cover art, works best for ages 3 to 8.
How do I stop cards from getting lost or mixed up?
Keep each deck in its own zip-top bag, binder ring, or dedicated bin, and number every card's corner so kids can reorder a shuffled set without help.
How high should a card display be for preschoolers?
Keep the top shelf at a height accessible to a seated child, low enough for easy reach without adult assistance.
How often should I rotate featured card decks?
Weekly works well for a single featured deck, while keeping 3 to 4 decks available at once avoids overwhelming younger children.
Are Icon Literary card decks designed with display in mind?
Yes. Icon Literary's themed decks use consistent, detailed cover art specifically so parents and educators can use the art itself as shelf signage.