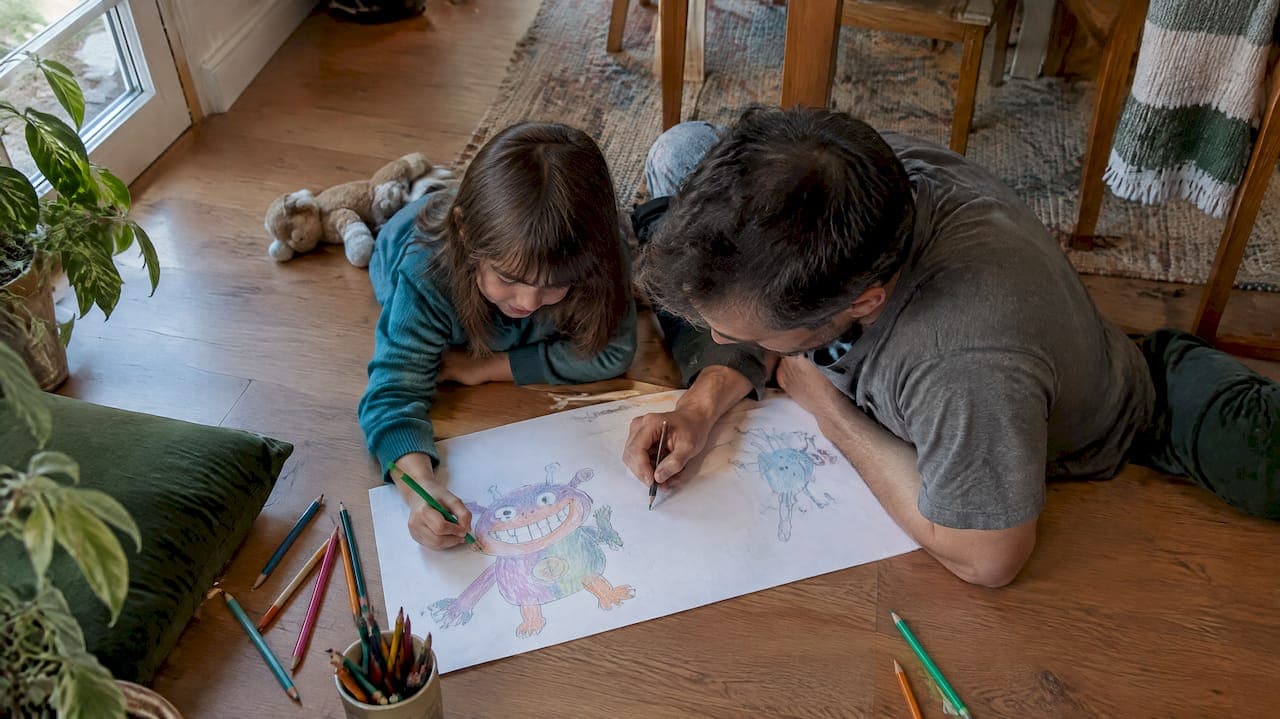
Design a kid-friendly character by co-creating a short backstory, sketching a single clear silhouette, and choosing a two or three color palette, then prototype it together with simple materials. This approach turns character design for kids into a shared activity rather than a solo drawing task, and it builds both creative confidence and emotional vocabulary along the way.
TL;DR:
- A session of 10 to 20 minutes covers the first six steps; allow 30 to 60 minutes for a prototype and short performance.
- Skip backstory for ages 3 to 5; ages 6 to 8 can name a want and fear, and older children can add conflict or secrets.
- Use a distinct silhouette, an expressive face, two or three contrasting colors, and one signature accessory; ask the child what each color means.
- For neurodiverse children, offer textured materials or a puppet proxy, and keep sessions short and repeatable to suit sensory and social needs.
- Write down the child’s exact words about the character and display them beside the artwork to strengthen ownership and preserve their ideas.
Table of Contents
- A Step-by-Step Activity You Can Run Today
- What Makes a Character Easy for Kids to Love
- Why This Kind of Play Builds Real Skills
- A Prompt Bank to Keep Ideas Fresh
- Why Character Co-Creation Shapes Our Work
- Bring These Activities Home With a Ready-Made Deck
- FAQ
- Sources
A Step-by-Step Activity You Can Run Today
You don't need an art degree or a supply closet to start. A few basic materials and a loose sequence of steps are enough to get a child from blank page to finished character.
Materials (with low-cost swaps):
- Paper and pencil, or a chalkboard and chalk
- Crayons, markers, or colored pencils (even just two or three colors work)
- Optional: playdough, felt scraps, or an old sock for a puppet prototype
- A notebook or sticky notes for writing down the child's exact words
The steps:
- Pick a role or theme together (a helper, a trickster, a creature who loves rain).
- Choose a name, letting the child decide or vote between two options.
- Ask for a one- or two-line backstory: where the character lives, what it wants.
- Sketch a basic silhouette first, no details yet, just the outline.
- Add a face: eyes, mouth, one clear expression.
- Pick two or three colors and talk about why they fit the character's mood.
- Build a simple prototype: fold paper into a stand-up figure, shape playdough, or decorate a sock puppet.
- Say the character's catchphrase or action out loud and write it down.
A quick session runs 10 to 20 minutes and covers steps one through six. An extended session of 30 to 60 minutes adds the prototype and a short acted-out scene. For preschoolers (ages 3 to 5), skip the backstory question and let shapes and colors lead. Early elementary kids (6 to 8) can name a want and a fear for their character. Older kids (9 and up) can add a conflict or a secret. Keep scissors and small parts supervised, and write down what the child says about their character verbatim. That one habit matters more than it looks.
What Makes a Character Easy for Kids to Love
Children read characters fast, often in a glance, so the visual choices you make early on carry real weight.
Round shapes tend to feel warm and friendly, while sharp, angular shapes read as active or mischievous. Large eyes and a simple mouth shape make expressions easy to recognize from across a room, and a little exaggeration (a huge grin, a single raised eyebrow) helps young children catch the feeling without guessing. Design features like these show up across children's media because young kids perceive and remember them more easily than subtle or realistic detail.

Color does a lot of the storytelling. Two or three colors with strong contrast keep a character readable at small sizes, and color choices carry cultural weight worth a quick gut check (red doesn't mean the same thing everywhere), so ask the child what the colors mean to them rather than assuming.
A strong silhouette, paired with one distinguishing accessory (a scarf, a single horn, an oversized hat) helps a character stay recognizable even in a tiny sketch or a shadow puppet.
Quick checklist:
- Can you tell the silhouette apart from a plain circle or square?
- Does the face read clearly from a few feet away?
- Do the colors stay under three, with one that pops?
- Is there one accessory that makes the character instantly identifiable?
Pro Tip: Cover the character's face and ask the child if they can still guess who it is from the outline alone. If yes, the silhouette is doing its job.
Why This Kind of Play Builds Real Skills
Character co-design isn't just a craft project, it lines up with how children build empathy and language.
Graphic organizers that map a character's internal feelings and opposing viewpoints, like the CHAMP approach, help children improve inferential comprehension and empathy when they're asked to consider what a character wants versus what stands in the way. Story dictation and acting out a character, where a child tells the story and then performs it, support expressive language and social skills, and give a character a life that extends past one drawing session.
Open-ended process art, the kind without a fixed outcome, supports social and emotional development in young children, and scribing a child's exact words about their character and posting them alongside the artwork deepens their sense of ownership.
For neurodiverse children, co-design research points to a few concrete adjustments: offer multisensory materials, let a child design through a proxy (a puppet or doll standing in for them) when direct drawing feels like too much, and balance open freedom with enough structure that the activity doesn't feel aimless.
Inclusion works best as an ongoing process, not a single checklist, tailored to each child's sensory and social needs.
- Swap paper and marker for textured materials (sensory-friendly materials) such as felt, sand trays, playdough when sensory needs call for it.
- Offer a puppet or stuffed animal as a stand-in voice for kids who find direct drawing or speaking harder.
- Keep sessions short and repeatable rather than one long marathon.
- Write down the child's words exactly, every time.
A Prompt Bank to Keep Ideas Fresh
Some days the blank page needs a nudge. Keep a running list of prompts sorted loosely by age, and swap in new ones whenever a session stalls.
Ages 3 to 5: a creature who naps in a teacup, a friend made of clouds, a silly bug with one giant foot.
Ages 6 to 8: a hero who's afraid of the dark, a pet rock with big dreams, a shape-shifter who can only turn into fruit.
Ages 9 and up: a villain who's secretly lonely, a character who collects other people's lost socks, a sidekick who talks too much and means well.
- Change one thing: redraw the same character with a different color, size, or accessory.
- What does it feel like? Ask the child to describe the character's mood using only textures or sounds.
- Accessory scavenger hunt: find three household objects that could become the character's signature item.
Turn any of these into a one-sentence printable card: "Draw a [creature] who is afraid of [something ordinary] but loves [something unexpected]."
Why Character Co-Creation Shapes Our Work
We think about character co-creation the same way a child does: as play first, meaning second. That belief runs through everything we build, from imaginative universes to smaller card-based worlds, and it's why activities like the ones above feel familiar to us. Products in our catalog grew out of exactly this kind of prompt-and-build process, just extended into finished art and stories.
— Derek Amarillas
Bring These Activities Home With a Ready-Made Deck
We built our Duckwave Decks around the same steps you just tried: a prompt, a quick backstory, a face, a palette. Each card hands you a character starting point, so a quick session turns into a finished creation faster.

If you want a deeper well of prompts and printable pages to pull from, our Socko's Universe catalog offers more themed packs built around the same character-first approach.
- Use a Duckwave Deck card as the "role or theme" step from the activity above.
- Pull a Socko's Universe printable for the backstory or coloring step.
- Keep the deck on hand for days when the blank page needs a push.
Pick a deck, grab some paper, and start building a character together this week.
FAQ
How can I create cartoon characters?
Start with a simple silhouette, a two or three color palette, and a one-line backstory, then refine the face and expression last. Co-creating with a child, rather than drawing alone, tends to produce more memorable and personal results.
What to draw: 10 ideas?
Try a creature who collects clouds, a hero afraid of the dark, a shape-shifter who only turns into fruit, a pet rock with big dreams, or a villain who's secretly lonely. Mixing silly and emotional prompts keeps kids engaged across different moods.
How do you explain a character to a child?
Describe a character by what they want, what they're afraid of, and one thing that makes them stand out visually, like a color or an accessory. Asking a child questions about those same three things usually works better than explaining a finished idea to them.
How do you come up with a good character design?
A good character design usually has a clear silhouette, a simple and expressive face, and a tight color palette of two or three shades. Testing whether the silhouette alone is recognizable is a quick, reliable check.
Sources
- Beyond the story map: helping students understand character and perspective
- Still on stage! Engaging children in telling and acting out stories to impact learning
- Inclusion as a process: co-designing for neurodiverse classrooms