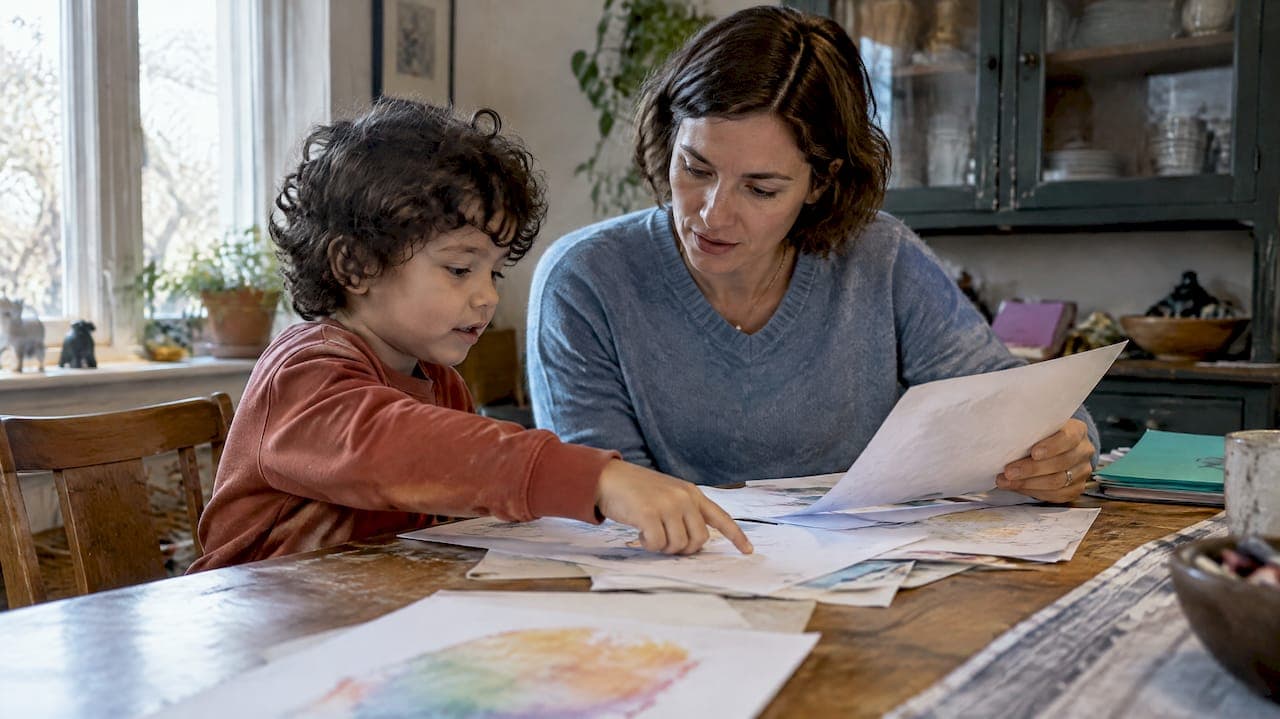
The fastest way to organize kids' printables is to split them into three groups: things in use this week, things worth keeping, and things to let go. Give each group one home, a fixed place and a regular review. Do that and the pile stops growing. This guide shows how, from the school backpack to the feelings chart on the fridge.
TL;DR
- Use one intake tray for everything that comes home. Sort it once a week, not every day.
- Keep "in use" printables (chore charts, feelings check-ins, calm-down choices) visible and within a child's reach.
- Archive only a small set of keepers per child, per year. Photograph the rest.
- Let your child help choose what stays. It builds the skill and cuts the arguments.
- Store emotional-literacy printables as a small, rotating set, so they stay fresh and don't pile up.
Table of Contents
- Why printables pile up so fast
- Step 1: Sort into three groups
- Step 2: Create one intake tray
- Step 3: Give keepers a small, fixed home
- Step 4: Photograph, then let go
- Step 5: Let your child help decide
- Organizing printables that kids use every day
- For teachers, librarians and counselors
- Our perspective: fewer pages, used better
- A card deck is an organizer too
- A one-hour reset you can do this weekend
- What to avoid
- FAQ
- Sources
Why printables pile up so fast
Printables arrive from three directions. School sends worksheets and artwork. You download chore charts, tracing pages and activity sheets. Teachers and counselors add check-ins, posters and sorting cards. Each one is useful alone. Together they become a drawer nobody wants to open.

The problem is rarely the paper. It is the lack of a decision point. When nothing tells you where a page belongs, it lands on the counter.
Researchers presenting at the 2026 CHI Conference put it this way: homes overflow with children's artwork, and most tools focus on storing objects rather than on shared decisions about them. That is a helpful frame. Organizing is not only about boxes. It is about choosing together what matters.
Step 1: Sort into three groups
Before you buy a single bin, sort what you already have into three piles.
- In use now. Charts, routines, check-ins and practice sheets your child uses this week or this month.
- Keepers. Work that shows who your child is at this age.
- Let go. Duplicates, finished worksheets, notices that have passed.
One parent quoted by Washington Family Magazine keeps things that reveal her son's personality. That is a useful test. Ask: does this show how my child thinks, feels or grows? If not, it likely goes in the third pile.
Set your keeper criteria in advance
Green Child Magazine suggests deciding the criteria for keepers before you start and thinking like a curator. Choose the best pieces, the favorites and the work that shows development at each stage. Write your criteria on a sticky note and tape it inside the box lid. It saves you from re-deciding every time.
Good criteria are short:
- First attempts at something new (a first name written, a first drawing of the family)
- Work with a story your child told you about it
- Pieces that show a clear change from last year
- Anything your child begs you to keep
Step 2: Create one intake tray
Papers spread when they have many landing spots. A guide on organizing school artwork recommends one intake tray instead of scattered clutter, and separating notices from memories. We agree.
Here is a simple setup:
- One tray or shallow basket near the door.
- Kids empty their backpacks into it after school. A school papers system from Study Skills builds this in as a daily after-school habit.
- Once a week, you or your child sort the tray into the three groups above.
Keep the weekly sort short. Ten minutes with a timer works for most families. If the tray overflows before the weekly sort, the tray is too big. Shrink it.
Step 3: Give keepers a small, fixed home
For keepers, one document box per child is enough. Chaos & Quiet uses this approach: each child has a box for papers that might be worth saving, and the contents get reviewed when the box is full or at least once a year.

A box has a built-in limit. When it is full, something has to go. That limit is the feature, not a flaw.
A simple labeling plan
| Label | What goes in | Review |
|---|---|---|
| Child's name + school year | Keeper artwork, writing samples, special printables | Once a year |
| "This month" folder | Papers you may need soon, such as forms and schedules | Monthly |
| "Photo later" envelope | Bulky or fragile pieces | When you have 15 minutes |
Write the date on the back of each keeper as you place it. Dates are easy to add now and hard to guess later.
Step 4: Photograph, then let go
Most of what comes home will not fit in a box. That is normal. Digital tools help here.
Washington Family Magazine describes apps such as Artkive and Keepy that let parents scan artwork and make photobooks. This keeps volume down and makes sharing with family easy.
For 3D pieces, Green Child Magazine offers a kind tip: photograph your child holding the piece before you recycle it. You keep the creation and a record of your child at that age. The guilt tends to ease too.
A few habits make the photo archive useful:
- Photograph in daylight, flat on a plain surface.
- Name files by child, year and a few words ("Maya-2026-rainbow-fish").
- Back up the folder once a year.
Step 5: Let your child help decide
The most useful change you can make is to stop doing this alone. The CHI researchers describe shifting from "record" to "relation": parents and children periodically decide together what to keep or retire. Their work suggests this can reduce conflict, because the feelings attached to a piece of art get acknowledged.
Green Child Magazine's Amity Hook-Sopko makes a related point. Involving children in curating their own work teaches them how to let go of things and how to choose what matters most to them.
Try this script with a child aged 3 to 8:
- Spread out five or six pieces.
- Say: "Which one makes you feel proud?"
- Say: "Which one do you want to take a picture of and say goodbye to?"
- Let them place the goodbye pieces in the recycling themselves.
Young children often say "keep them all." That is fine. Offer a smaller choice: "We have room for three. Which three?" The limit does the work.
Organizing printables that kids use every day
Keepers sit in a box. In-use printables need the opposite: they should be easy to see and reach. This is where many families go wrong. They file the chore chart or feelings check-in in a binder, and then nobody uses it.
The "in use" station
Choose one spot, such as the fridge, a clipboard by the door or a low shelf. Limit it to what your child uses now:
- One routine chart (morning or bedtime, not both at first)
- One feelings check-in
- One or two activity pages for quiet time
When something stops being used, move it to the keeper box or recycle it. Rotate in something new. A small, changing set holds attention better than a wall of paper.
Keep feelings printables within reach
For emotional literacy, placement matters as much as content. A feelings check-in from Printitos uses nine faces for a child to circle, and the routine can take about a minute a day. Daily practice is what builds the vocabulary, so the page needs to be where the child is.
Early childhood educators at the Aussie Childcare Network describe feelings posters as predictable, safe tools for transitions and for moments when a child is overwhelmed. They help children use "I feel" statements. Predictability is the key word. The poster should be in the same place every day.

Predictability matters for younger children in general. For more on why consistent limits help toddlers feel secure, see this piece on boundaries in toddler development.
If you want to set up a full space, our guide to designing a feelings corner covers layout and what kids actually use.
A weekly rhythm for check-ins
| Day | Printable | Time |
|---|---|---|
| Monday | Feelings check-in (circle a face) | 1 minute |
| Wednesday | Name-the-feeling sheet | 5 minutes |
| Friday | Pick a favorite page to keep or retire | 5 minutes |
For scripts you can read aloud, try our emotion check-in scripts, which run from 60 seconds to 5 minutes. If you want something more hands-on, emotion sorting activities take about ten minutes to set up.
For teachers, librarians and counselors
The same logic scales up. A classroom has many children and many papers, so decide three things early:
- Where does finished work go? One labeled tray per table works well.
- What stays posted? Limit posted printables to those students use that week.
- What is shared? Feelings charts, calm-down choices and vocabulary cards can live in one shared bin so any adult can find them.
If you run a calm-down box, a short rehearsal makes the tools easier to use. We lay it out in our calm-down box guide. For vocabulary by age, see emotion vocabulary for kids.
Our perspective: fewer pages, used better
We make emotional-literacy books, card decks and activity materials for ages 3 to 8. Our view comes from that work.
More printables do not mean more learning. A child who sees the same eight feelings cards every morning will use them. A child facing a binder of 60 pages will not. We design our materials to be picked up, handled and put back, not filed.
We also think organizing should feel like play, not a chore. A deck of cards is already sorted by nature. A child can shuffle it, pick a card, talk about it and return it. That is why we build characters and story worlds into our materials rather than plain worksheets. Children come back to characters they like, and they talk about feelings more easily through them.
For parents, our advice is simple. Choose a small set of tools. Put them where your child can reach them. Review them with your child every few weeks, and retire what no longer fits.
— Derek Amarillas
A card deck is an organizer too
If a binder of loose printables is not working, try a deck. Our Duckwave Decks are $7, one-off, and they give children a ready-made set of cards that lives in one place. You can find them on our Duckwave Decks page. For longer story worlds, see Socko's Universe in our catalog.
A deck suits a basket by the door, a car pocket or a classroom shelf. It is also easier for a small child to put away than a stack of sheets.
A one-hour reset you can do this weekend
- Minutes 0 to 10: Set up the intake tray and the "in use" station.
- Minutes 10 to 30: Sort the current pile into the three groups.
- Minutes 30 to 45: Do a quick keeper review with your child. Use the "three spots" limit.
- Minutes 45 to 60: Photograph bulky pieces, label the keeper box and put a recurring ten-minute weekly sort on your calendar.
The weekly habit is what keeps this working. A one-time reset fades within a month if nothing recurs.
What to avoid
- Buying storage before sorting. Containers invite you to fill them.
- Throwing work away in front of your child. Let them take part, or do it later and out of sight if they are very attached.
- Posting everything. A crowded wall stops being noticed.
- Keeping every feelings worksheet. The value is in doing it, not in the finished page. Photograph one or two and recycle the rest.
FAQ
How many pieces of kids' artwork should I keep each year?
There is no official number. A box with a fixed size is a practical limit: when it is full, review it. Many families find that a small set of favorites per child per year is easy to manage and still tells the story of that year.
What is the best way to store printable chore charts and feelings check-ins?
Keep the ones in use where your child can see and reach them, such as the fridge or a low clipboard. Store spare copies flat in a folder labeled by type. Rotate charts every few weeks so they stay interesting.
Should I scan kids' artwork or keep the originals?
Do both, selectively. Keep a few originals that carry real meaning and scan or photograph the rest. Apps such as Artkive and Keepy are built for this, and you can make photobooks from the scans.
How do I get my child to agree to let things go?
Offer limited choices and let your child make the final call. Photographing a piece before recycling it, or photographing your child holding it, often makes goodbye easier. Starting with a small group of items helps too.
Sources
- From Record to Relation: Co-Designing Child-Centered Digital Preservation for Children's Artwork, CHI 2026
- Organizing Kids' School Papers and Art Projects, Washington Family Magazine
- How To Store Kids Artwork and School Papers, Green Child Magazine
- How to Organize School Artwork by Child, Year and Story
- Simple Family Organization: Easily Organize School Papers at Home
- How to Organize Kids' School Papers, Chaos & Quiet
- Feelings Chart for Kids, Printitos
- Free Feelings Check In Posters, Aussie Childcare Network